How to create schedule events from the ENALINK Dashboard and toggle on schedule mode
This video goes over the steps to create schedule events
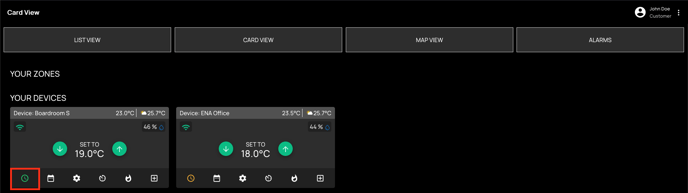
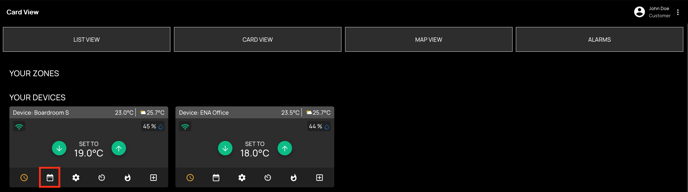
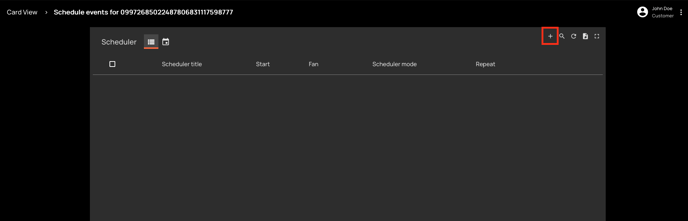
Select the Scheduler icon from the Card View or List View for the Zone/Device you want to create schedules for
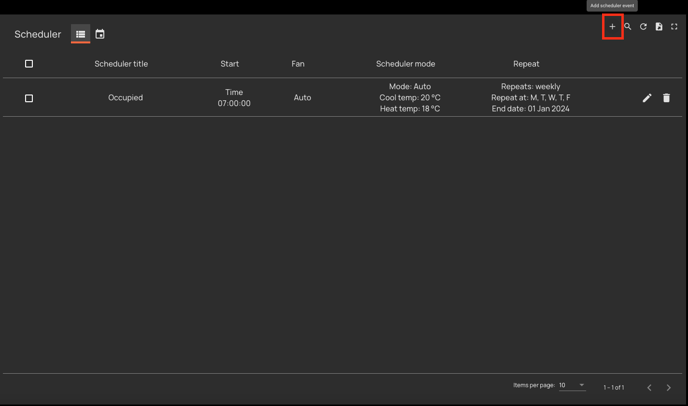
Select the '+' button near the top right of the screen to add a schedule event
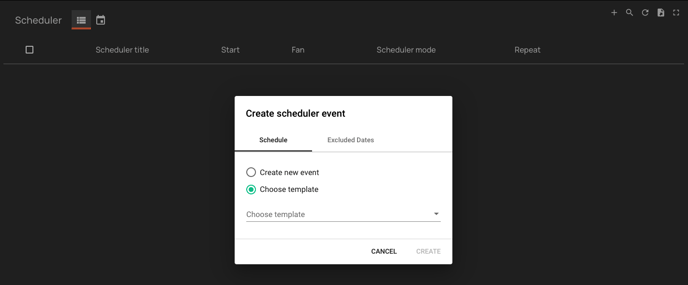
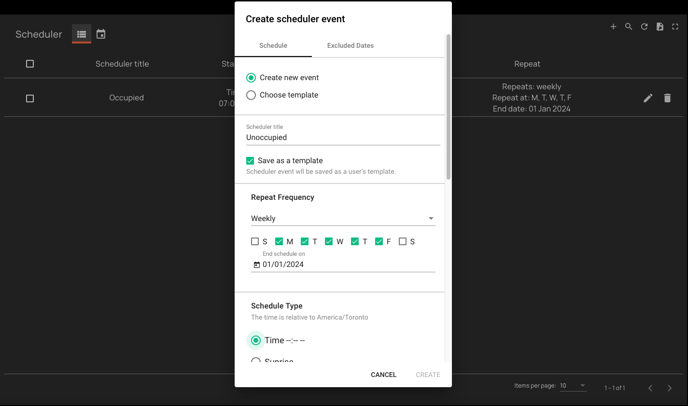
Select 'Create new event' or 'Choose template' if you have an existing schedule saved as a template.
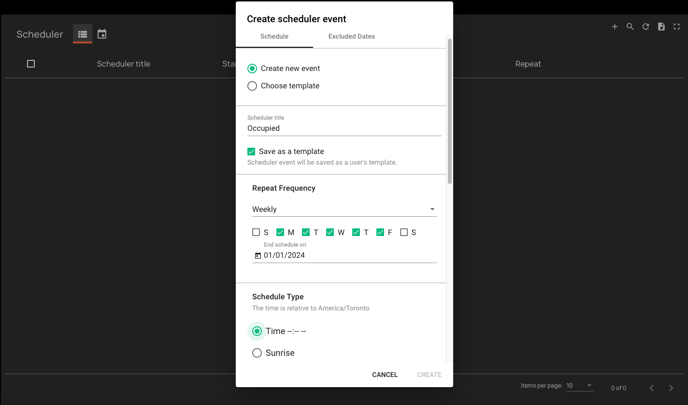
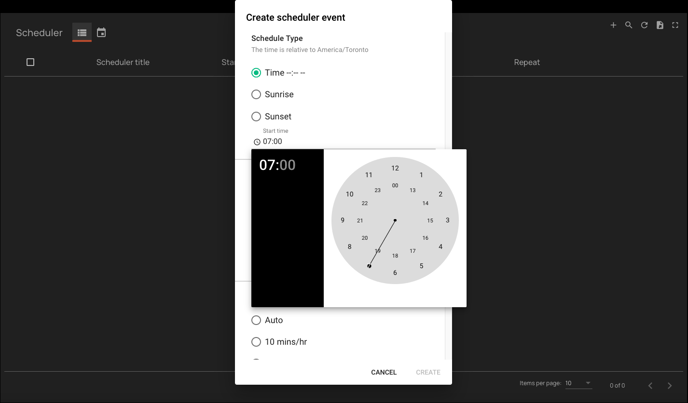
For a new event begin by entering a schedule title and select 'Save as a template' if you wish to reuse this schedule event in the future for a different zone/device. Select a frequency (No repeat, Daily, Weekly, or Monthly). Choose an end date for this schedule (up to 1 year in future), and select the schedule type (Time, Sunrise, or Sunset). Select the start time (24hr clock) if selecting 'Time'. If choosing either 'Sunset/Sunrise', select if your event will occur 'before/after', followed by duration in 'Minutes/Hours'
No repeat will schedule an event that will occur only once on the selected date
Daily event will repeat until 'End schedule date'
Weekly event will repeat only on the selected weekdays until 'End schedule date'
Monthly event will repeat on the event created date of every month until 'End schedule date'
End Schedule On date is a required date which tells the ENASTAT when to repeat this schedule event until. This date can be updated later.

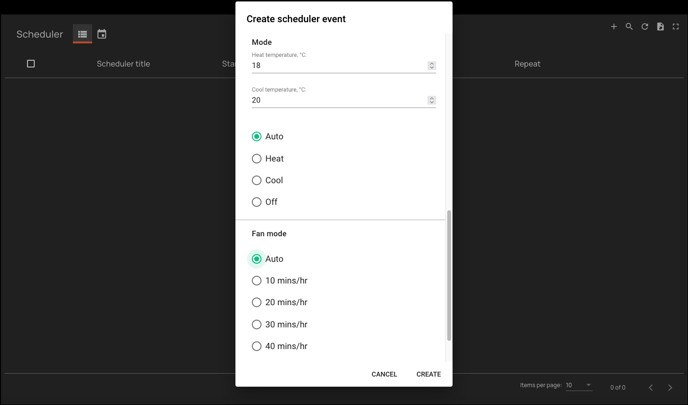
Select System Mode (Auto, Heat, Cool, or Off), and enter your desired setpoint(s). Note: Auto mode will require separate setpoints for Heat and Cool, creating a range of temperature for your space. Finally, select your Fan settings as either 'Auto' or a duration per hour and select 'Create'.
You have successfully created a schedule event. Note: Your ENASTAT will interpret this event as a 'start' event and will continue until the end date.
From the scheduler window you can add more events, eg. 'Unoccupied' schedule.
Begin by entering a name for this schedule event and repeat the previous steps to define the next settings and setpoints.
Below is an example of an 'Occupied' and 'Unoccupied' schedule that utilizes 'Auto' system Mode at 7AM, and turns the system 'Off' at 6PM, repeating Monday to Friday.

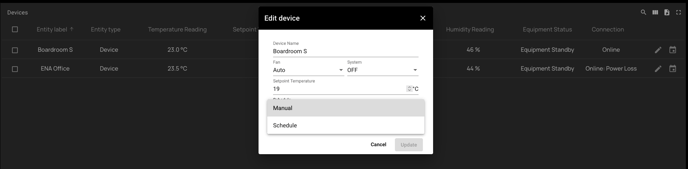
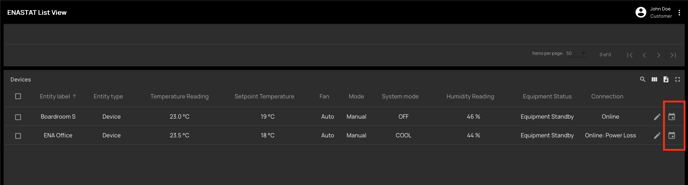
From the Card View screen select the Clock icon to toggle the scheduler on (green). If using the List View screen select the Edit icon and choose 'Schedule' from the mode drop down menu. The ENASTAT will automatically change it's setpoints and settings to the match the schedule within the next few minutes.